Getting Started with Gemini-CLI
Dive deep into the advanced features and versatile applications of the Gemini Command Line Interface, and see how it can revolutionize your interaction with generative AI.

Have you ever wished your terminal could read your mind? Imagine simply typing your thoughts and watching your command line spring to life, effortlessly creating files with custom content, fetching information from Google, or even summarizing complex data from the web.
Sample Functionality: Your Terminal, Reimagined
The real magic of the Gemini CLI unfolds when you start interacting with it. Below, we will walk through some practical examples, showing you how to leverage its advanced features directly from your terminal.
Prompt for Gemini
Write a positive restaurant review. Mention that the food was delicious and well-prepared, the staff and servers were friendly and attentive, but note that parking was a bit inconvenient. The overall tone should stay positive, highlighting the enjoyable dining experience despite the parking issue.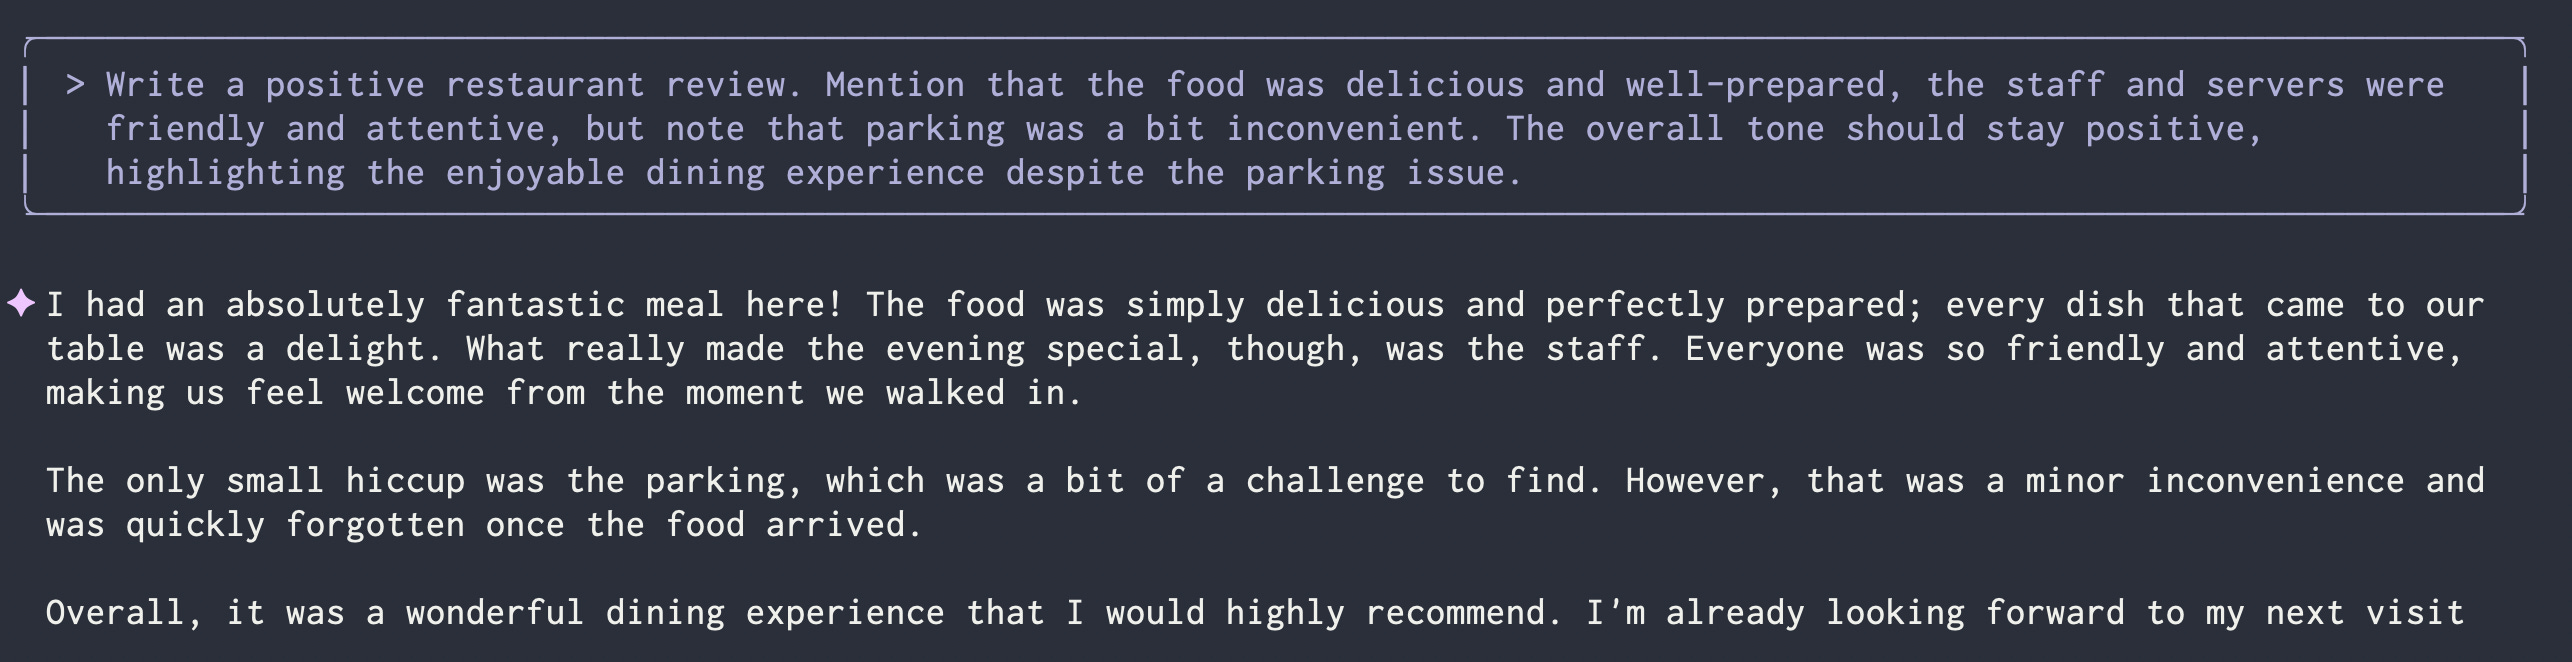
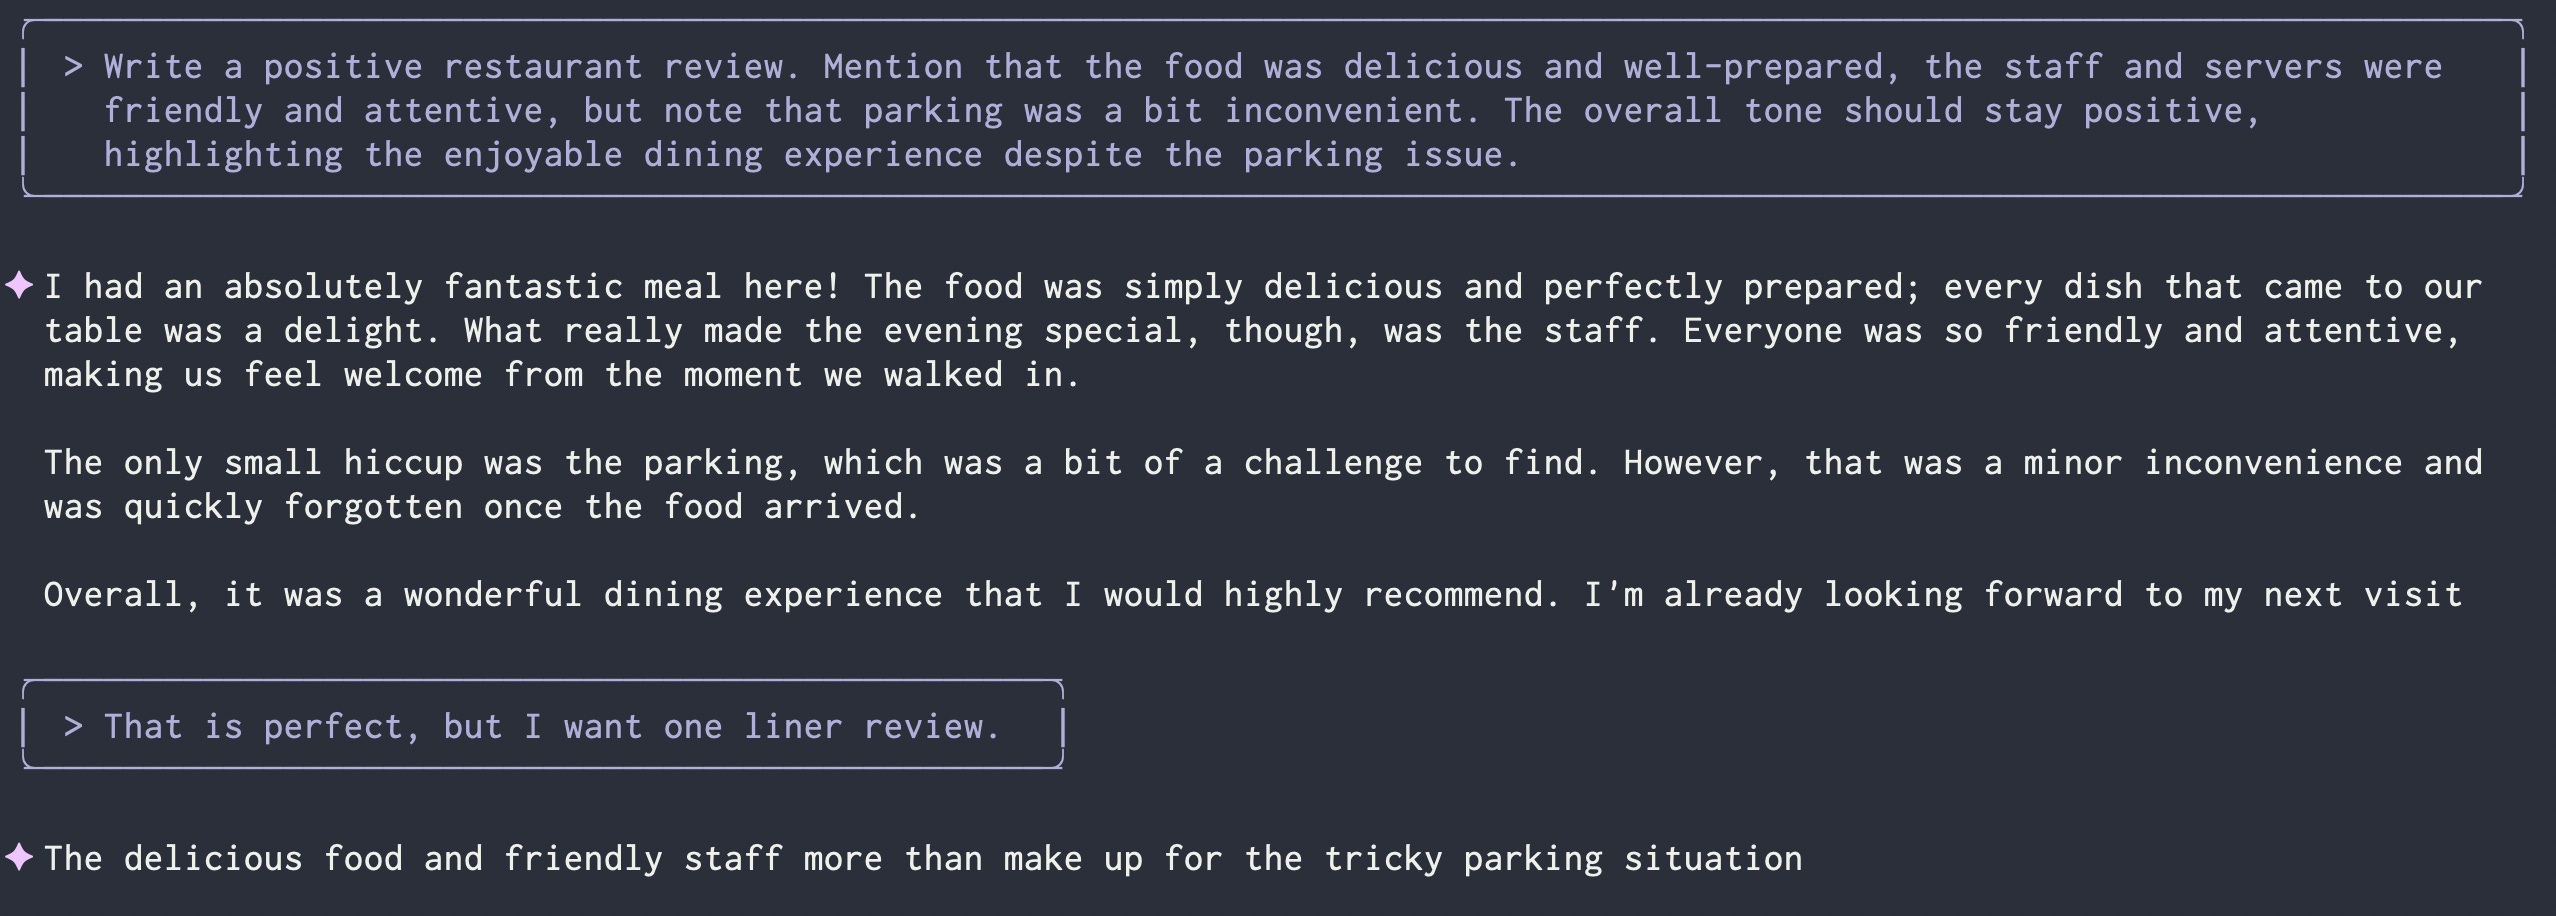
Convert the review paragraph into one liner review
Another Example
For this tutorial, I wanted to test how Gemini CLI can help automate simple coding tasks. To start, I gave it a very straightforward prompt:
Write a python program that generates the Fibonacci sequence up to a given number of terms and save as main.pyOnce I ran this prompt through Gemini CLI, it generated a Python script (main.py) that outputs the Fibonacci sequence.
To make the project more complete, I then asked Gemini CLI to create a README file that explains the code it had just written. This is particularly useful because the README not only documents the logic of the program but also provides usage instructions, making it easy for others (or even my future self) to understand what the script does without digging into the code.
This simple workflow shows how Gemini can be used as both a code generator and a documentation assistant, speeding up the development process while keeping things neatly organized.
Installing Gemini CLI
Before you begin, make sure you have Node.js version 18 or higher installed on your machine. Verify your Node.js version to avoid compatibility issues.

Once Node.js is set up, you can install the Gemini CLI globally using npm:
npm install -g @google/gemini-cliAfter the installation completes, confirm that Gemini CLI is installed correctly by checking its version. If the installation was successful, you will see the version number displayed as below.
gemini -v
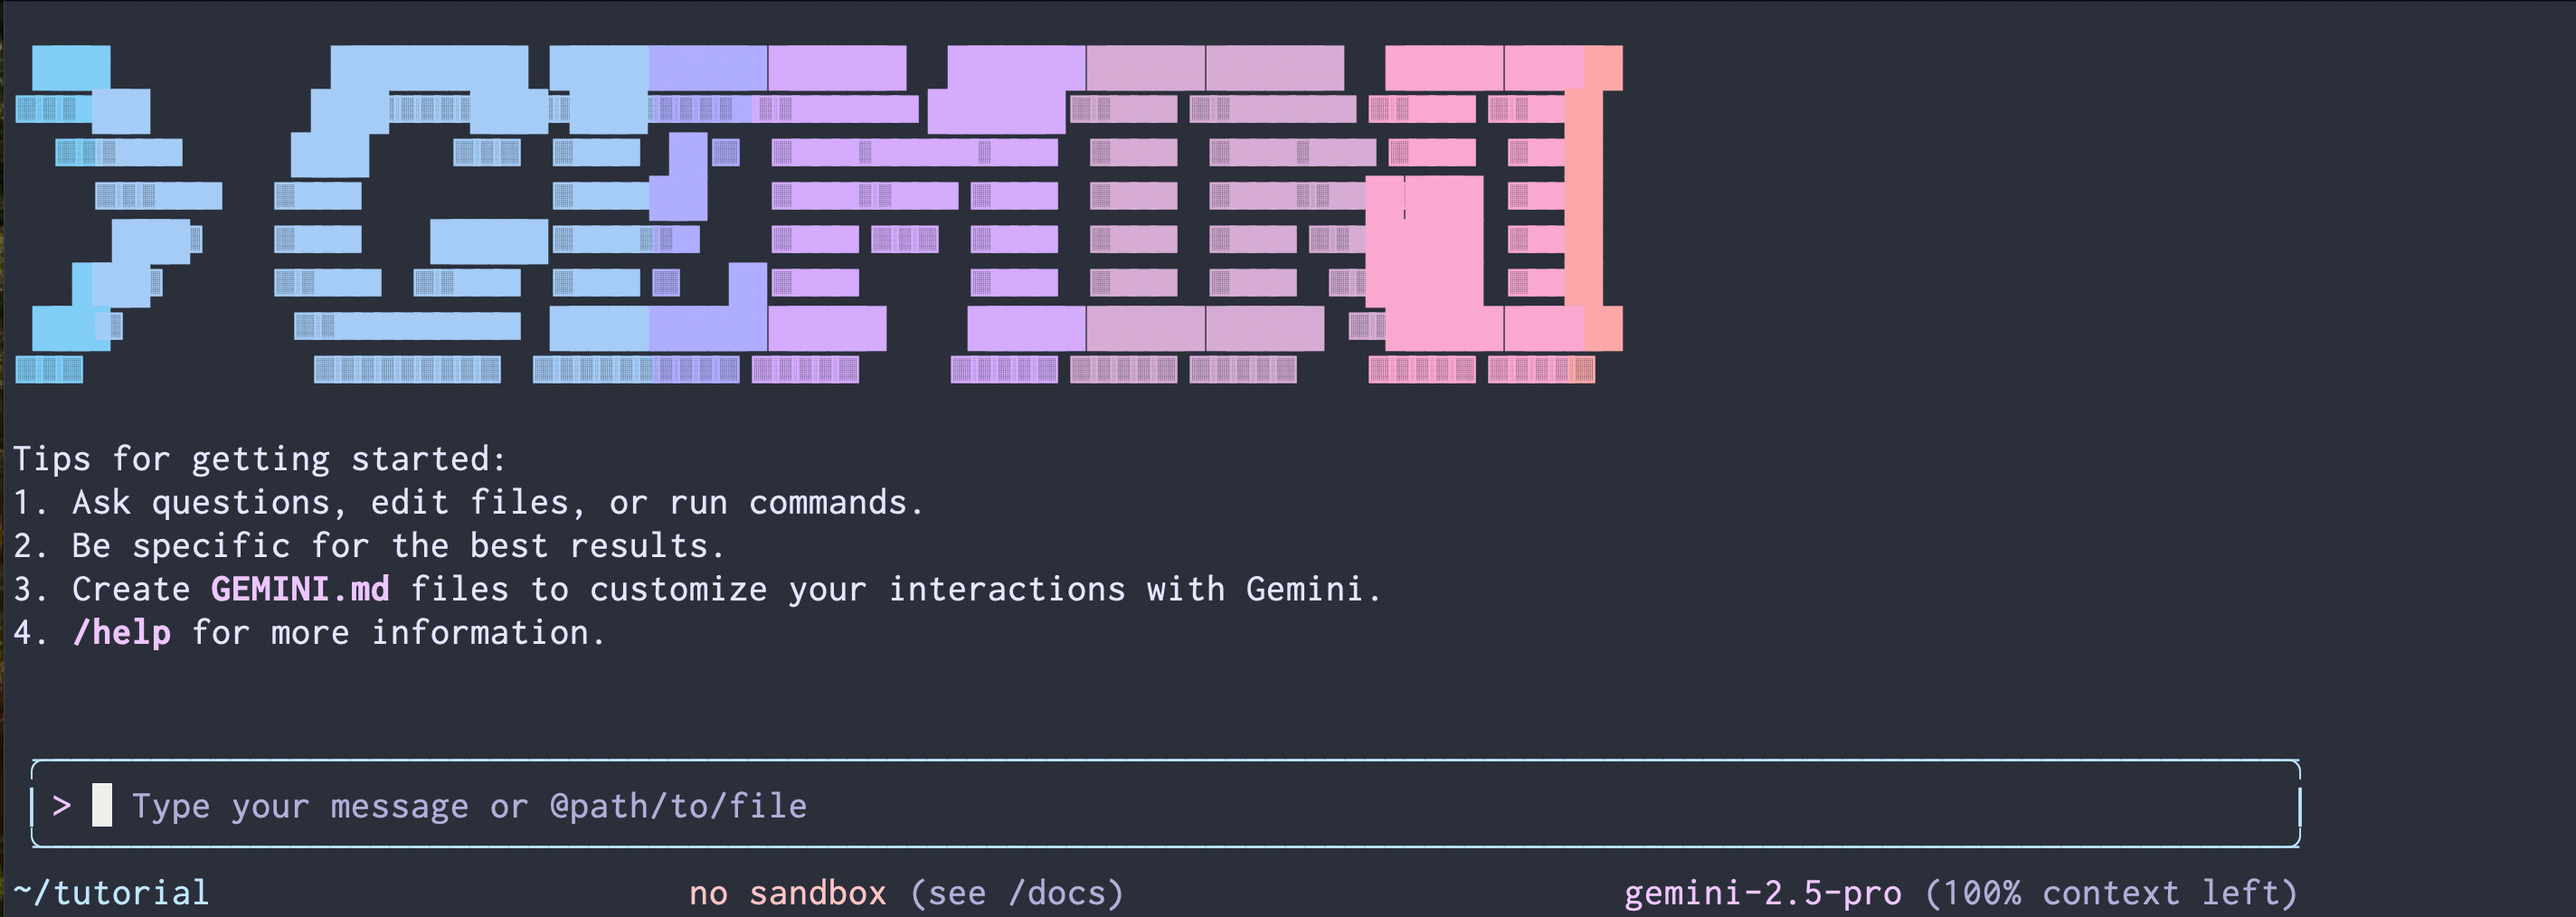
Run Gemini CLI Inside a Project Directory
Once Gemini CLI is installed, the next step is to create a working directory for your project. It’s better to run Gemini inside a project directory rather than your home folder or a random location. Treat this directory as your project workspace, so you can easily track what Gemini creates, version-control it with Git, or share it with others later.
In this blog post, we learned how to install Gemini CLI, make a project folder, and create our first Python script with a README. This is just the start, in future blogs, we will look more closely at Gemini CLI, try advanced prompts, build bigger projects, and see how it can be used in real coding work.